
The simplest way to photograph a drawing
For sharing your artwork online

Don’t ruin a great drawing with a low quality picture of it. There are more advanced ways to photograph artwork, but this is the quick easy version - perfect for sharing with your online class or social media!”
Supplies needed:
Camera, like the one on your phone
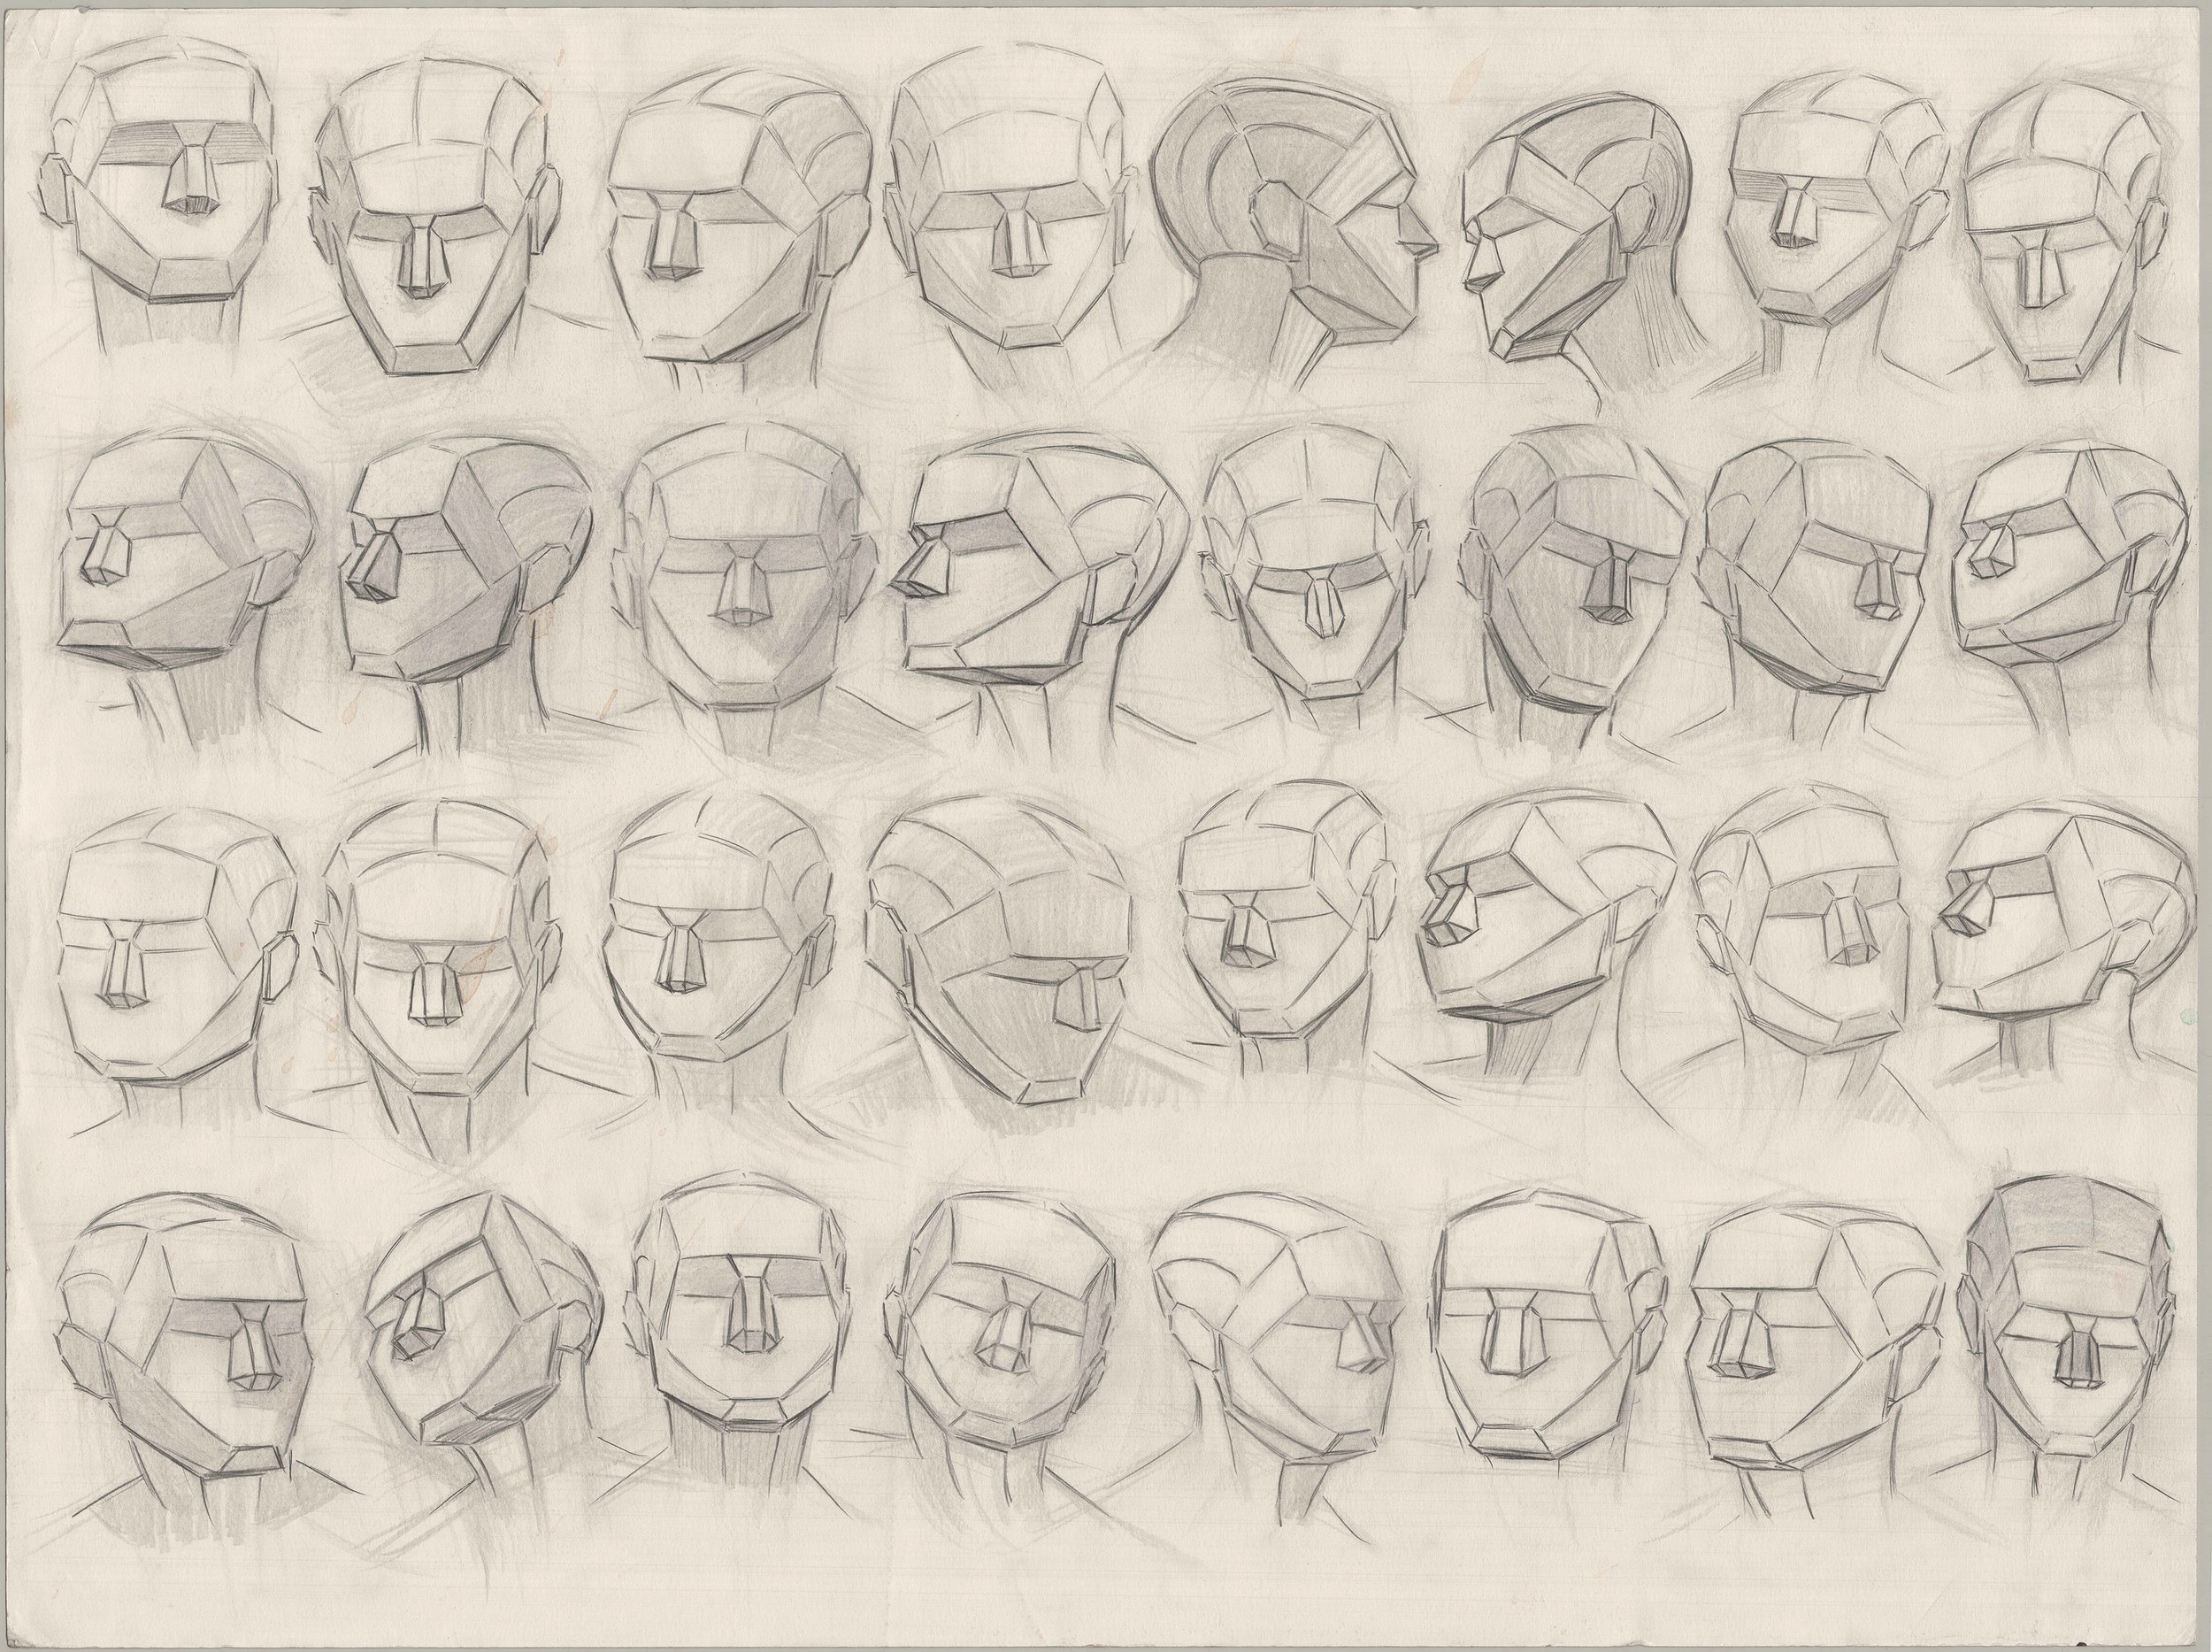
Needs improvement


Here’s How
In 6 steps

Set up during the day when there’s plenty of light

2. Locate a large window

3. Lay your artwork on a hard surface flat in front of the window

4. Face the window

5. Hold the camera parallel above the artwork

6. Photograph it!
Again, that’s -

Set up during the day when there’s plenty of light
Locate a large window
Lay your artwork flat in front
Face the window
Hold the camera parallel above the artwork
Photograph it!
Bonus tips

Don’t angle the camera
Hold your camera directly above the artwork. The paper’s 4 sides should be straight, and match the 4 sides of the camera frame.
Clear distractions
Take care to remove any eraser shavings, pencils - or anything else weird from the area. After all, the focal point is the art, not what’s around it!

Auto edit & crop
A more advanced tutorial is necessary for above and beyond editing. For now, use the “auto edit” / “magic wand” feature, and crop the image to remove distractions.
Finally, don’t over-edit; editing software is for clarity, not fixing mistakes.
Nice one!


+ Clear of distractions
+ Even lighting
+ Centered on subject matter
+ haz top hat